Imagine a world where your everyday lights respond to a simple, intuitive touch. No more fumbling for switches in the dark or searching for remote controls. Building a touch sensor light with Arduino brings this convenience to your fingertips, offering a blend of modern functionality and the satisfaction of a DIY project. Whether you’re a seasoned electronics enthusiast or a curious beginner, this guide will walk you through everything you need to know to create your own interactive lighting solution. Get ready to explore the fascinating realm of touch-sensitive technology and personalize your living space with a project that’s both practical and fun to build.
Touch Sensor Lights: Overview and Benefits
Touch sensor lights represent a leap in home automation, allowing for effortless control over illumination. Their growing popularity is due to a combination of cutting-edge technology and user-friendly design.
What is a Touch Sensor Light?
At its core, a touch sensor light is a device that activates or deactivates based on physical contact with a designated surface. Unlike traditional mechanical switches that rely on moving parts, touch sensor lights typically operate using capacitive sensing. This principle detects changes in electrical capacitance caused by the proximity or touch of a conductive object, such as a human finger. Your body naturally holds an electrical charge, and when you touch a capacitive sensor, you subtly alter its electrical field. The sensor then registers this change and sends a signal to the Arduino.
There are primarily two types of touch sensor setups you can use for your DIY project:
- Dedicated Touch Sensor Modules: Components like the TTP223B module are readily available and simplify the process considerably. These modules come with integrated circuitry that handles the capacitance detection, providing a straightforward digital output (HIGH or LOW) to your Arduino.
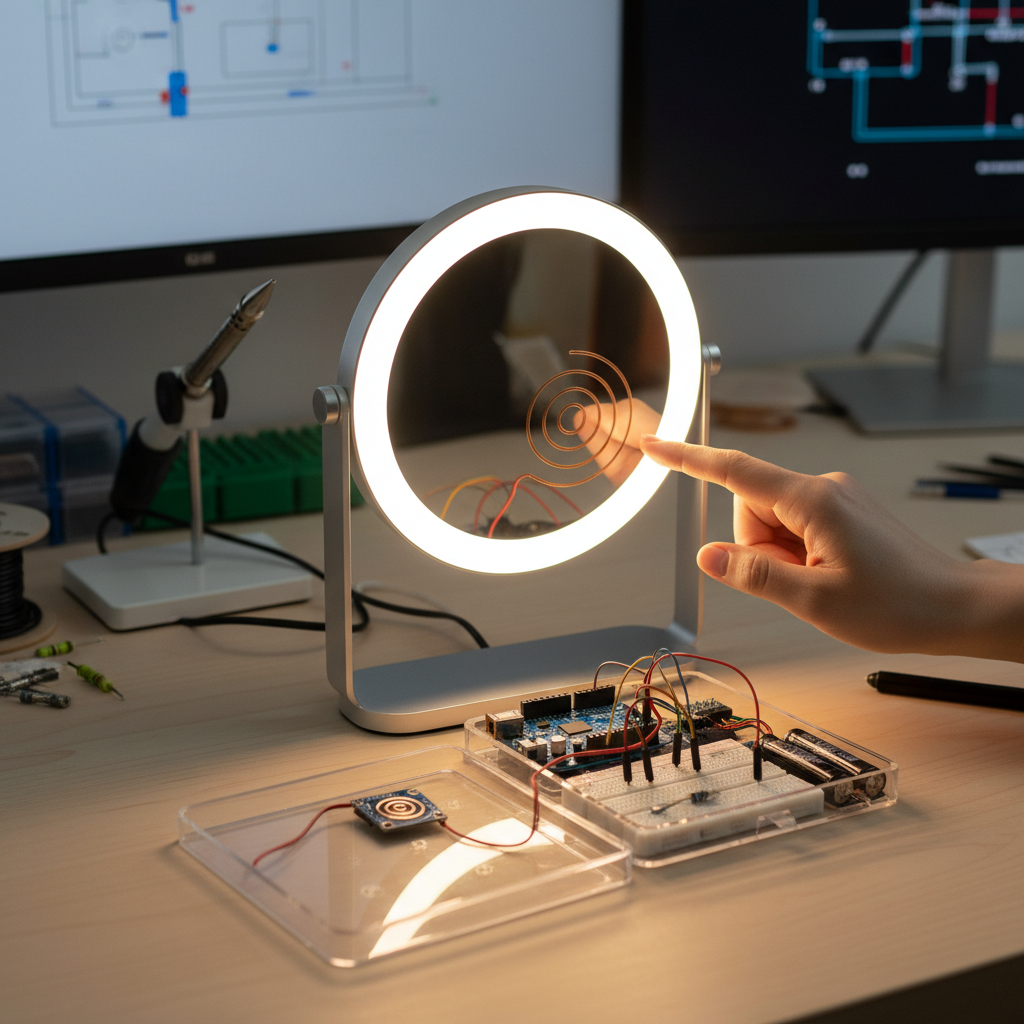
- DIY Capacitive Touch Pads: For a more custom approach, you can create your own touch pad using conductive materials like aluminum foil connected to a high-value resistor and then to your Arduino’s pins. This method often utilizes specialized libraries, like the
CapacitiveSensorlibrary, to interpret the subtle changes in capacitance.
|
Our Picks for the Best Touch sensor night light in 2026
As an Amazon Associate I earn from qualifying purchases.
|
||
| Num | Product | Action |
|---|---|---|
| 1 | MediAcous Night Light for Kids, Baby Egg Light for Nursery, 7 Colors Changing & Stepless Dimming, Soft Silicone Touch Night Lamp with 1 Hour Timer, Rechargeable Nursery Night for Breastfeeding |

|
| 2 | Red Night Light for Sleep, 670nm Night Lamp with White Light 3000K-6500K & Timer, Portable Red Reading Light for Bedroom, Touch/Remote Control, 360° Illumination, Stepless Dimmable, Hangable |
|
| 3 | RTSU Rechargeable Touch Light, DIY Stick Anywhere Led Night Light Touch Lamp Tap Light (Touch Sensor Switch, Stepless Dimmer, Last Setting Memory, Built-in Battery Powered, Warm White Light) |
|
| 4 | EverBrite Rechargeable Round Motion Sensor LED Night Light, Motion Activated LED Night Light with 3 Lighting Modes, Touch Control, 3 Color Temperatures & Dimmable, for Hallway, Bedroom, 2 Pack |
|
| 5 | RTSU Rechargeable Mini Touch Night Light, Wireless LED Lamp for Kids - Portable, Dimmable Nursery Lamp |
|
| 6 | G Keni Nursery Night Light for Baby, Portable LED Touch Night Lamp for Kids and Adult, Breastfeeding, Sleep Aid, USB Rechargeable Nursing Lamp, Bedside Dimmable Warm Night Light, Soft Eye Caring |
|
| 7 | JolyWell Night Light for Kids, Baby Night Light with 7 Colors Changing Mode & Stepless Dimming, Nursery Night Light BPA Free,Rechargeable Egg Night Light for Breastfeeding 1h Timer & Touch Control |
|
| 8 | Portable Baby Night Light, 3 Color Egg Lights for Nursery, 2400mAh, Small Rechargeable LED Lamp, Dimmable Touch Nightlight for Newborn, Toddler, Kids, Adults |
|
| 9 | UNIFUN Night Light, Touch Lamp for Bedrooms Living Room Portable Table Bedside Lamps with Rechargeable Internal Battery Dimmable 2800K-3100K Warm White Light & Color Changing RGB (Regular Size)… |
|
| 10 | Portable Baby Night Light, 3 Colors Egg Light for Nursery, Mini Bedside Table Lamp for Kids Adults, Touch Control & Eye Caring & Rechargeable Dimmable LED Lamp for Nursing, Boy, Girl, Toddler |
|
Benefits of Using a Touch Sensor Light
Integrating touch sensor lights into your home offers several compelling advantages beyond mere novelty:
- Convenience and Ease of Use: A light touch is all it takes to control your lighting. This eliminates the need for physical pressure and provides a smooth, modern user experience, especially useful in low-light conditions.
- Modern Aesthetics: Without visible switches, touch sensor lights can be seamlessly integrated into furniture or fixtures, contributing to a clean, minimalist, and contemporary interior design.
- Enhanced Durability: The absence of moving parts means less wear and tear compared to mechanical switches. This translates to a longer lifespan for your lighting control system and reduced maintenance needs.
- Concealability: Capacitive touch sensors can detect touch through non-conductive materials like wood, plastic, or glass. This allows you to hide the sensing element beneath a surface, creating an invisible, yet responsive, control point.
- Safety for Children: When designed with low-voltage LEDs, touch-activated lights can be a safer alternative for children’s rooms, as there are no exposed electrical contacts or small parts to manipulate.
Essential Components for Your Arduino Touch Light Project
To embark on your DIY touch sensor light journey, gathering the right components is the first crucial step. Here’s a list of what you’ll typically need:
- Arduino Board: An Arduino Uno is an excellent choice for beginners due to its widespread support and ease of use. It acts as the brain of your project, processing input from the touch sensor and controlling the light output.
- Capacitive Touch Sensor:
- TTP223B Touch Sensor Module: Highly recommended for its simplicity. It’s a 3-pin module (VCC, GND, SIG/OUT) that makes wiring straightforward.
- Alternatively, for DIY: A piece of aluminum foil or another conductive material (e.g., copper tape) and a 1 Megaohm (MΩ) resistor.
- Light Source:
- LED (Light-Emitting Diode): A single-color LED is perfect for a basic project.
- RGB LED: If you want to experiment with different colors.
- Resistor for LED: A 220 Ohm (Ω) resistor is typically used in series with an LED to protect it from excessive current.
- Breadboard: A solderless breadboard is indispensable for prototyping your circuit, allowing you to easily connect and disconnect components without soldering.
- Jumper Wires: A variety of male-to-male jumper wires will be needed to connect your components on the breadboard and to the Arduino.
- Power Supply: A USB A-to-B cable to power your Arduino from a computer or a compatible USB wall adapter.
- (Optional) Relay Module: If you plan to control higher-voltage AC lights (like a standard household lamp), a 5V relay module will be necessary to safely switch the power to the light. Exercise extreme caution when working with AC power.
Step-by-Step Guide: Building Your Touch Sensor Light
Once you have your components, it’s time to bring your touch sensor light to life. This section will guide you through the wiring and coding process.
1. Understanding Capacitive Sensing
Before diving into the connections, a quick recap on how capacitive sensing works will be beneficial. Capacitive touch sensors measure changes in capacitance. When your finger, which is a conductor, approaches or touches the sensor’s conductive pad, it adds to the capacitance of the sensor. The Arduino detects this change, interpreting it as a touch. The sensitivity can be influenced by the size of the conductive pad and the resistor values in some DIY setups.
2. Wiring the Components (Using a TTP223B Module)
Let’s start with the TTP223B module, as it simplifies the process considerably.
- Connect the TTP223B Touch Sensor Module to Arduino:
- Connect the VCC pin of the TTP223B module to the 5V pin on your Arduino.
- Connect the GND pin of the TTP223B module to a GND pin on your Arduino.
- Connect the SIG (OUT) pin of the TTP223B module to Digital Pin 2 on your Arduino. This pin will be used to read the touch input.
- Connect the LED to Arduino:
- Place your LED on the breadboard. Remember, the longer leg (Anode) is positive, and the shorter leg (Cathode) is negative.
- Connect one end of the 220 Ohm resistor to the longer leg (Anode) of the LED.
- Connect the other end of the 220 Ohm resistor to Digital Pin 13 on your Arduino. This pin will control the LED.
- Connect the shorter leg (Cathode) of the LED to a GND pin on your Arduino.
This setup creates a simple circuit where touching the TTP223B module will send a signal to Arduino, which then toggles the LED.
3. Writing the Arduino Code
Now, let’s write the code that will make your Arduino respond to touch. This code will toggle the LED’s state (ON/OFF) each time the touch sensor is activated.